

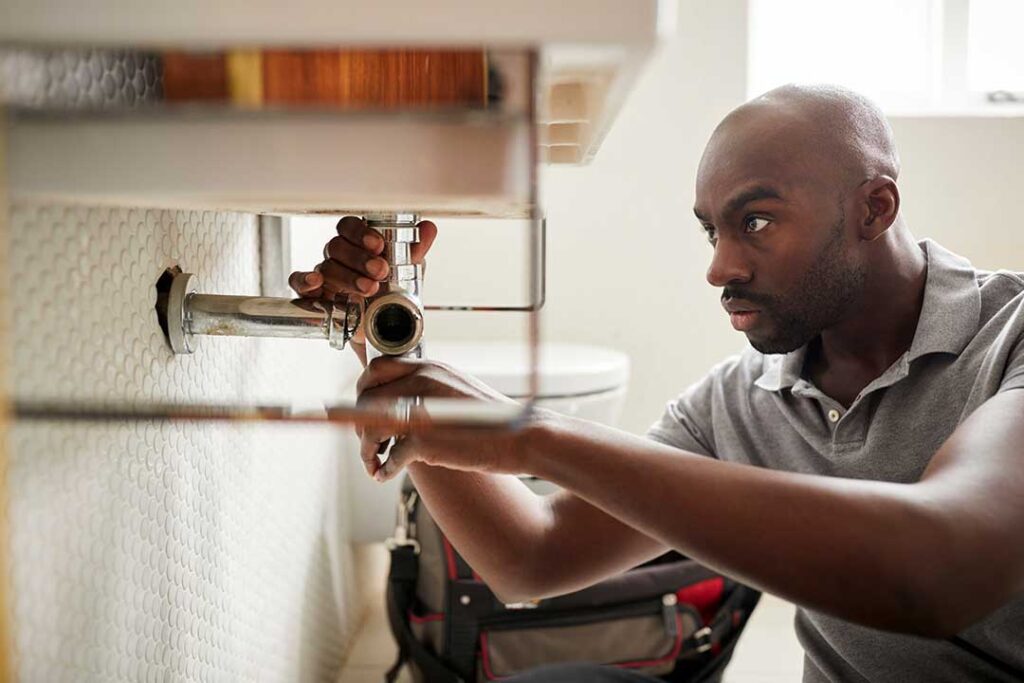
A leaky outdoor faucet, also called a hose bib, is usually repairable with a few basic tools. The most common causes are a worn washer, a damaged packing seal around the handle, a loose connection, or freeze-related damage inside the faucet or supply pipe.
In Archdale, NC, outdoor plumbing can be affected by winter freezes, summer heat, mineral buildup, and repeated use for gardening, washing vehicles, or filling outdoor containers. Fixing a small leak promptly can help prevent water waste, wood rot, soil erosion, and hidden wall or crawl-space damage.
How can you tell where the leak is coming from?
The location of the water usually identifies the failed part. Dry the faucet completely, then turn the water on and watch carefully.
- Water drips from the spout when the faucet is closed: The internal rubber washer or cartridge may be worn.
- Water leaks around the handle while the faucet is running: The packing nut or stem seal may need tightening or replacement.
- Water leaks from the hose connection: The hose washer may be missing, flattened, or damaged.
- Water appears where the faucet meets the wall: The threaded connection, supply pipe, or interior portion of the hose bib may be leaking.
- Water leaks from a crack in the faucet body: The faucet may have been damaged by freezing and usually needs replacement.
A spout that drips only after the faucet is turned off may simply be draining briefly. A continuing drip several minutes later indicates a problem with the shutoff mechanism.
What tools and replacement parts are needed?
Most basic repairs require:
- Adjustable wrench
- Screwdriver
- Penetrating oil for stuck screws, if needed
- Replacement faucet washer or cartridge
- Replacement hose washer
- Plumber’s tape for approved threaded connections
- Small bucket or towel
The correct replacement washer or stem assembly depends on the faucet design. Take the old part with you when purchasing a replacement, or compare the faucet’s make and model if it is marked. Avoid forcing a part that appears close but does not fit correctly.
How do you replace a worn faucet washer?
Replacing the washer is appropriate when water continues dripping from the spout after the handle is fully closed.
1. Shut off the water supply
Find the interior shutoff valve serving the outdoor faucet. It may be located under a sink, in a utility area, near the water heater, or in a crawl space. Open the outdoor faucet after shutting off the supply to release pressure and drain remaining water.
If there is no separate indoor shutoff, turn off the home’s main water supply. Confirm that the outdoor faucet no longer produces water before disassembling it.
2. Remove the handle
Take out the screw in the center or on the side of the handle. Pull the handle straight off. If it is stuck, gently work it back and forth rather than prying aggressively against the faucet body.
3. Remove the valve stem
Use an adjustable wrench to loosen the packing nut behind the handle. Turn the stem counterclockwise to remove it from the faucet body. Keep track of the order of any small washers, screws, or spacers.
4. Replace the washer
A small screw usually holds the rubber washer to the end of the stem. Remove the screw and install a matching washer. The replacement should sit flat and should not be stretched, folded, or wider than the original.
Inspect the metal seat inside the faucet. If it is deeply corroded or rough, a new washer may not seal properly. In that situation, replacing the faucet or using the correct seat-repair method may be necessary.
5. Reassemble and test
Reinstall the stem, packing nut, handle, and handle screw. Open the water supply slowly, then test the faucet. Tighten the packing nut only enough to stop leakage around the handle. Excessive tightening can make the handle difficult to turn or damage the seal.
How do you stop water leaking around the handle?
A leak around the handle often comes from a loose packing nut or worn stem packing.
With the faucet turned on, use a wrench to tighten the packing nut slightly—usually about one-eighth to one-quarter turn. Test the faucet after each adjustment. If the leak continues, shut off the water and replace the packing material or the faucet’s stem seal.
Do not confuse the packing nut with the larger connection where the faucet meets the wall. Tightening the wrong part can loosen the entire faucet or damage the supply pipe.
What if the leak is at the hose connection?
A leak between the hose and faucet is often caused by the small rubber washer inside the hose coupling. Remove the hose and inspect the washer. Replace it if it is cracked, flattened, brittle, or missing.
Clean dirt and mineral deposits from the faucet threads with a cloth or soft brush. Hand-tighten the hose, then add only a small amount of additional tightening with pliers if needed. Over-tightening can damage the hose coupling or the faucet threads.
Plumber’s tape generally does not fix a leak caused by the hose washer because the washer forms the seal inside the coupling. Tape may be appropriate only for certain threaded pipe connections, not for the face of the hose connection.
How can you recognize freeze damage?
Freeze damage may appear as a split faucet body, a crack near the wall, unexplained water inside the crawl space, or a leak that begins when the faucet is used after winter weather.
A frost-resistant hose bib can still freeze if the attached hose is left connected. Water trapped between the shutoff point and the exterior outlet can expand and split the faucet or supply pipe.
Before freezing weather:
- Disconnect hoses and stored attachments.
- Make sure the faucet drains after the interior shutoff is closed.
- Keep the interior shutoff accessible.
- If the faucet has a small drain cap, open it only after shutting off the supply and place a container underneath.
- Repair dripping faucets before cold weather arrives.
If water is leaking inside the wall, ceiling, or crawl space, shut off the supply promptly. Hidden leaks can damage insulation, framing, and electrical components. Water near electrical wiring or an inaccessible burst pipe requires extra caution and may require qualified assistance for safe repair.
Should the whole hose bib be replaced?
Replacement is usually more practical than rebuilding a faucet when the body is cracked, the threads are badly damaged, the valve seat is worn, or repeated washer replacements do not stop the drip.
A frost-resistant replacement must be installed with the correct length and slope so water can drain from the faucet. The pipe connection must also match the existing plumbing. In some homes, especially those with older galvanized or copper piping, removing a corroded faucet can place stress on the pipe inside the wall.
Do not force a seized outdoor faucet with a long wrench. If the pipe begins turning inside the wall, stop and shut off the water. Continuing can break the connection and create a much larger leak.
When is a leaky outdoor faucet more than a simple repair?
A basic washer or hose-washer replacement is generally manageable for a careful homeowner. Extra caution is warranted when:
- The interior shutoff will not close.
- Water leaks from inside the wall or crawl space.
- The faucet is cracked from freezing.
- The supply pipe moves when the faucet is turned.
- The pipe is badly corroded.
- Water is near electrical equipment.
- The repair requires soldering, brazing, or opening a finished wall.
The first priority is stopping the water and limiting damage. Once the supply is controlled, the failed part can be identified without rushing or applying excessive force.